Just thought I would share my first experiences with car audio as I start getting more serious about it. Although it is nothing new or too crazy I had some fun with the build and took plenty of photos. There are similar A4 threads on here which I used as a reference throughout the process.
The goal is SQ although I am still a beginner so I will not have the ultimate or most extreme setup for everything but I will do my best to choose great components and install them properly.
The car - 2008 Audi A4 Sedan.
I'll start with the sub-woofer - I'm going to make a FG enclosure to minimize loss of trunk space.
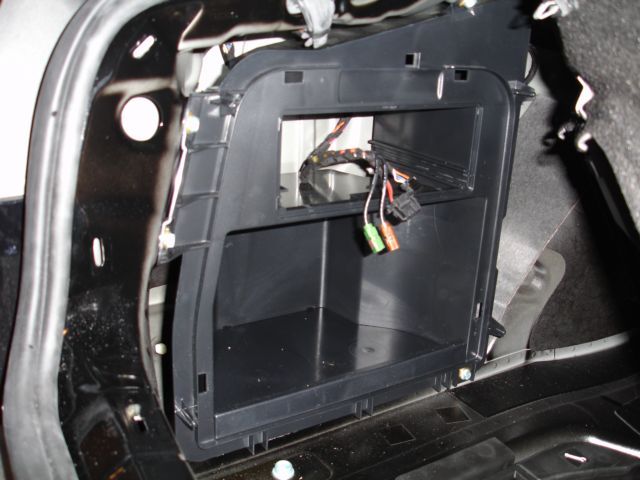
The trunk of the A4 (for those of you who are not familiar with it) has a door on the left side with a large plastic storage cubby in it. The cubby starts at the top with a small rack for the Bose amplifier which is sealed off from our access(for those who got the Bose stereo option on their A4) and then has a small storage space for your stuff. I don't have the Bose stereo on my A4 so for me this is just a ton of wasted space.
Here is a pic of it I found on the web. (sorry didn't take my own of this part before removing it)
![]()
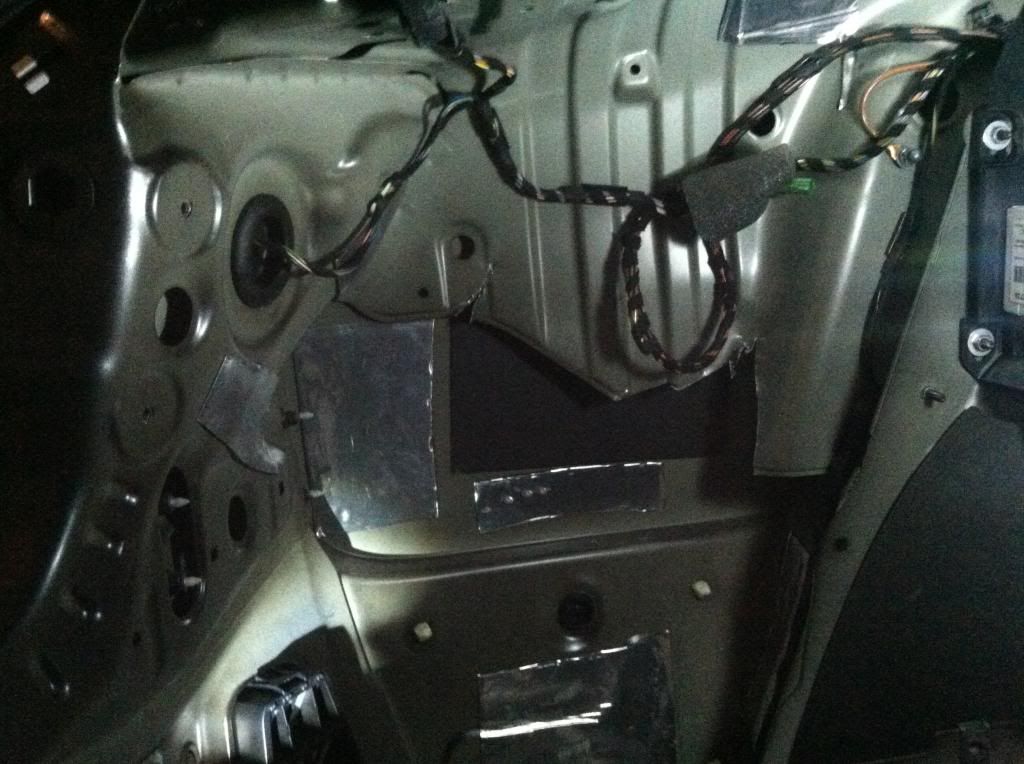
After removing the plastic storage bin I found a ton of extra airspace all around where it was. I also found this extra sheet metal layer. I'll be trying to put the largest subwoofer I can in there so mounting depth is going to be the #1 constraint. If I remove this extra sheet metal I can gain another couple inches of mounting depth.
![]()
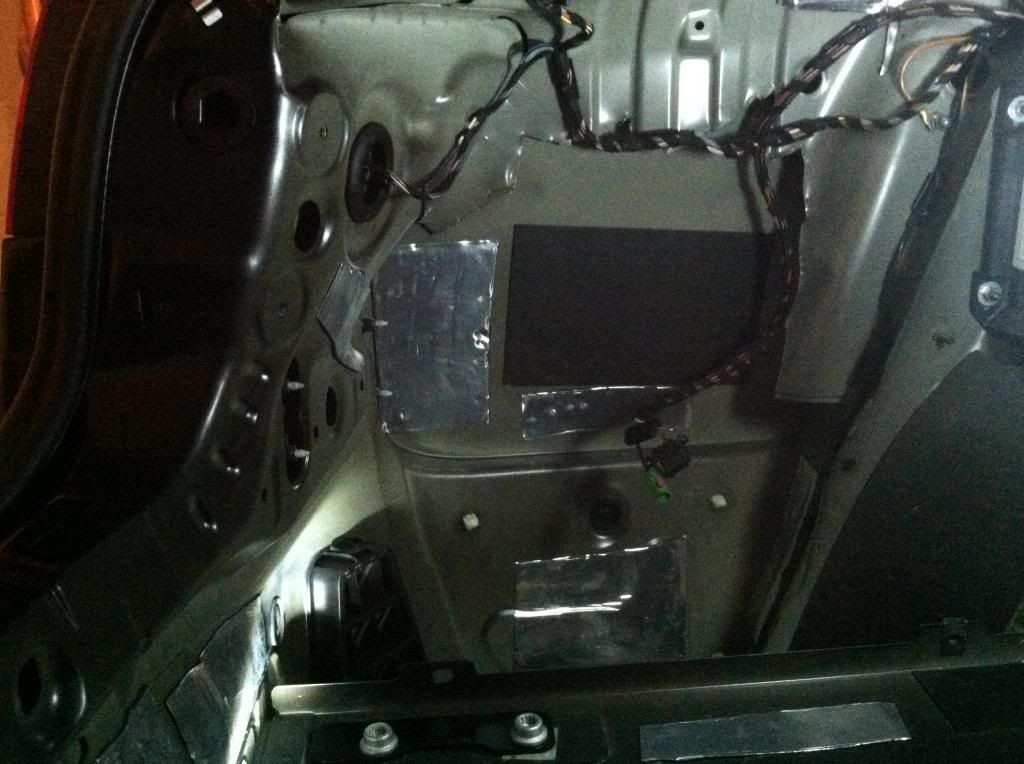
I began cutting away at it with tin snips to make some more room.
![]()
This gave me a total of about 11" of space between where the cubby door will be and the back wall. I ended up choosing the sub-woofer based on this measurement.
I chose a JL Audio 12W6V2. This speaker has almost 8" of mounting depth which gives me hardly any space leftover for the FG buildup + the cone to have some room for its excursion to not hit the cubby door when It's played.
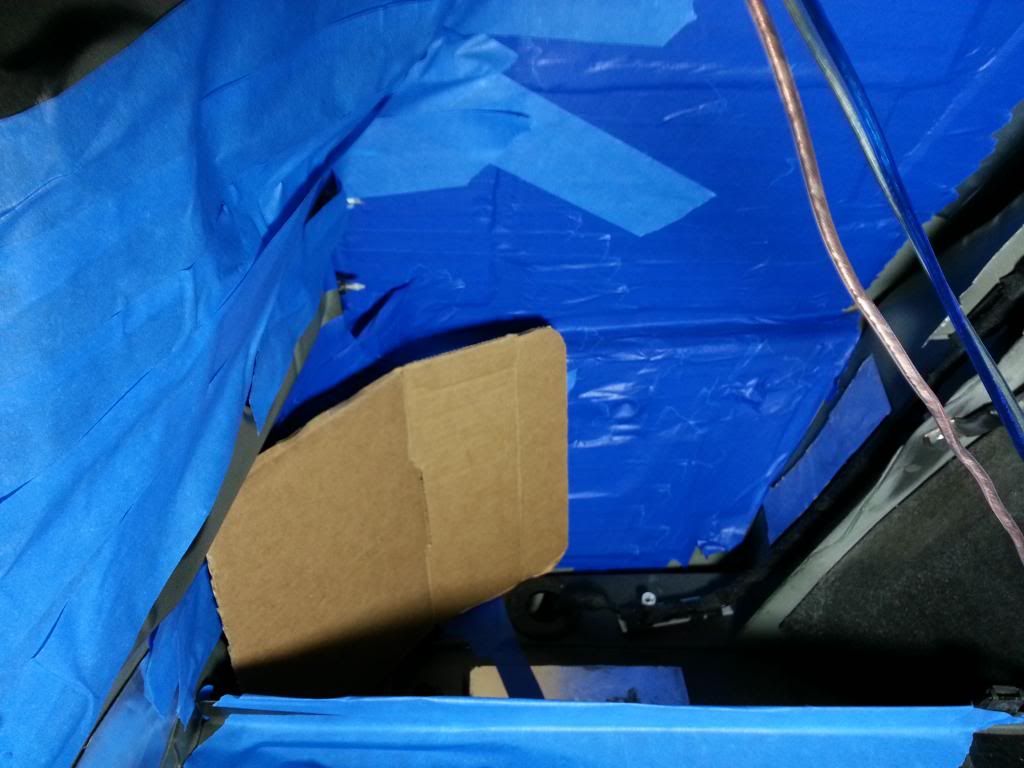
Now that plenty of it is cut away I can start taping up the space to prepare for fiber-glassing :p
![]()
![]()
Added a little protection for the car and smeared some turtle wax in there. This helps to remove the mold once it cures.
![]()
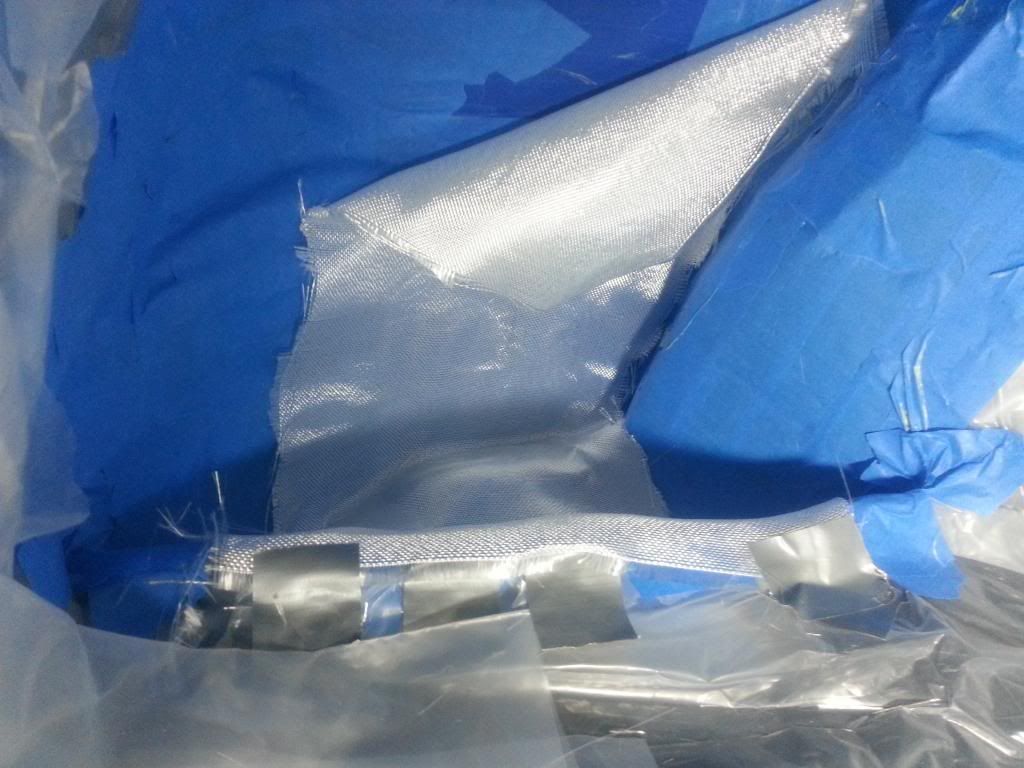
Laid some S2-Glass fabric in there. Taped it to stay in place this way it doesn't slide on the vertical surface its dropping into.
![]()
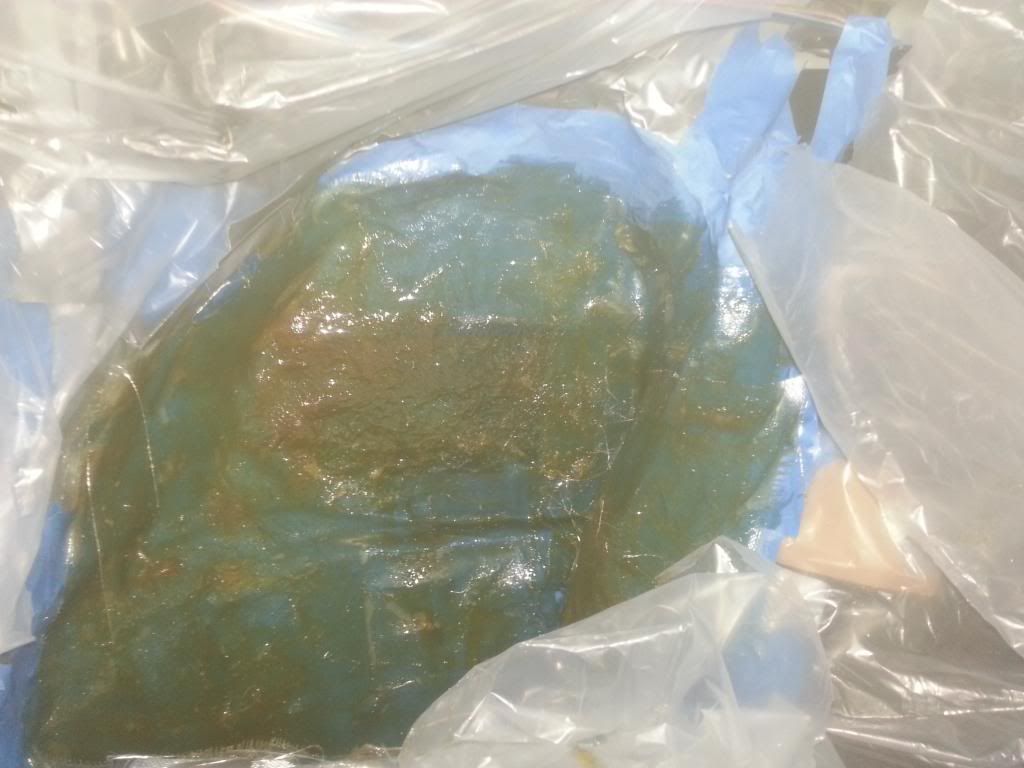
On goes the resin...
Just a single pretty thin layer of either S2-Glass cloth or chopped strand mat for the initial mold.
![]()
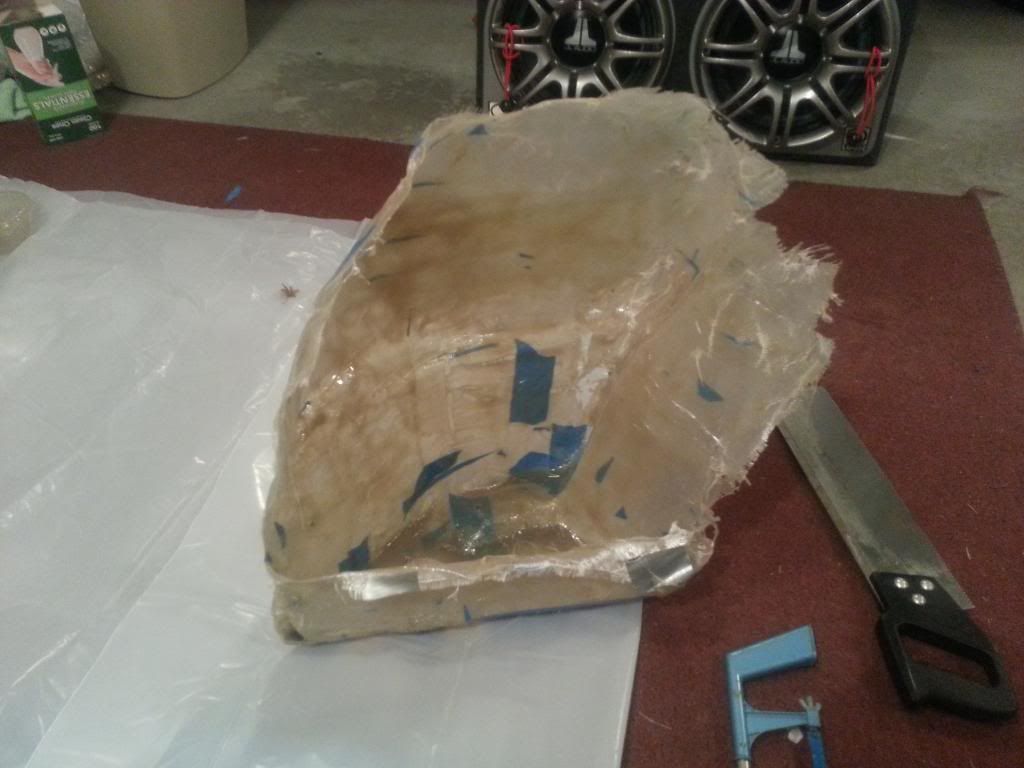
That cures and pops out without too much difficulty
![]()
Turns out the mold needed to flex a lot to come out because it reached too deep in some areas so this needed to be modified.
![]()
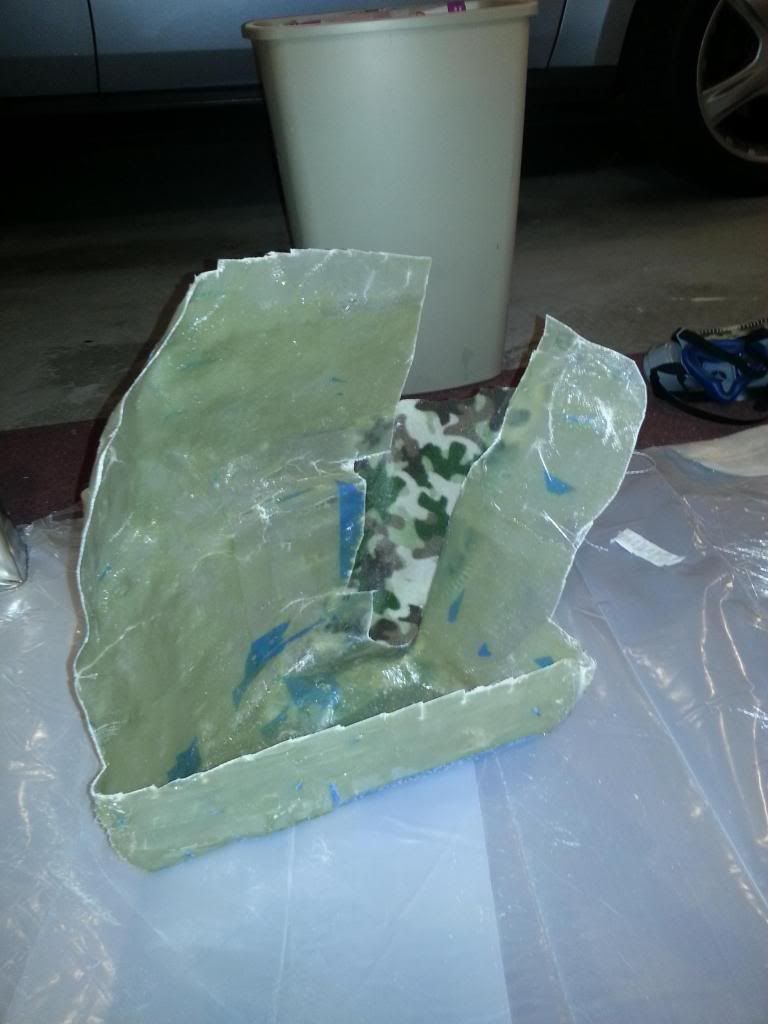
Don't mind the camo - I got a cheap fleece blanket for this project from WalMart for $2.50 and it happened to be camo.
![]()
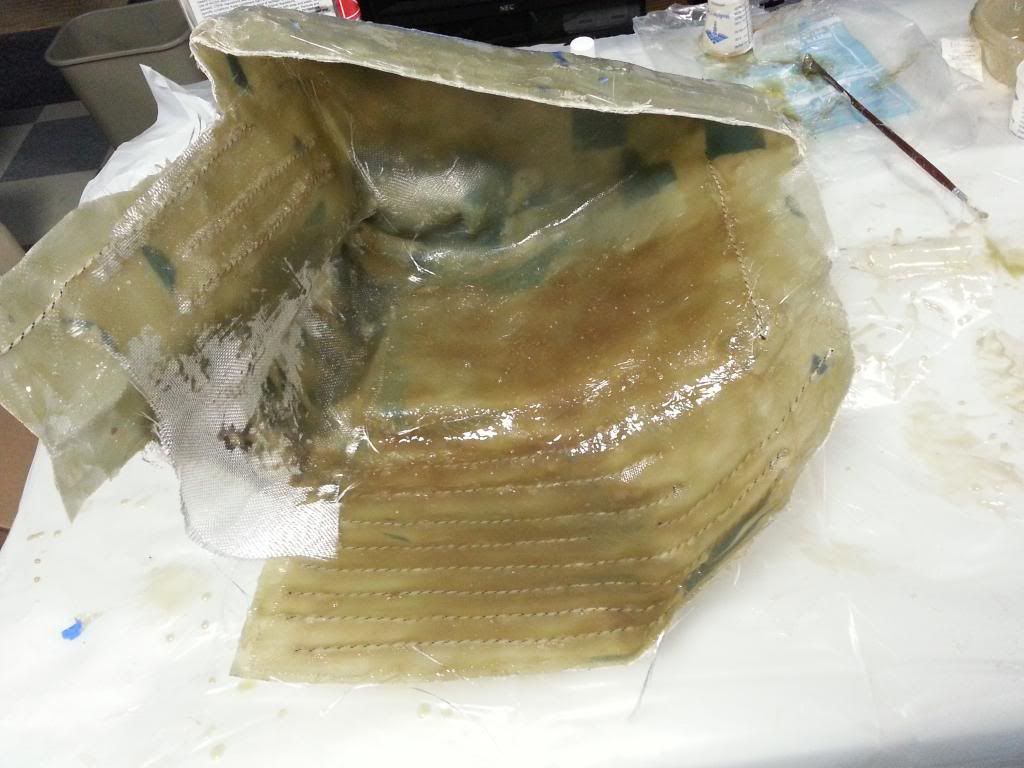
I added a few more layers of FG matt and the cloth and then added strings to the weaker parts. The FG is strongest when applied to curves (and weakest when it is in large flat pieces) so one technique was to use the nylon string to give flat areas some ridges for the fabric to conform too. A stronger option was to add strips of wood but those would have added too much thickness for my purposes.
![]()
BTW - This enclosure I'm making is by no means the cheapest way to DIY. I decided to have a little fun fiber glassing with more exotic fabrics which also required Vinyl Ester resin to bond them so I would not recommend these materials for those who want the most cost effective option.
The goals for the FG enclosure to sound best...
-Minimize flex, so no acoustical energy is lost from the sub-woofer
-Have the proper internal air volume, and of course...
-Be sealed (air-tight)
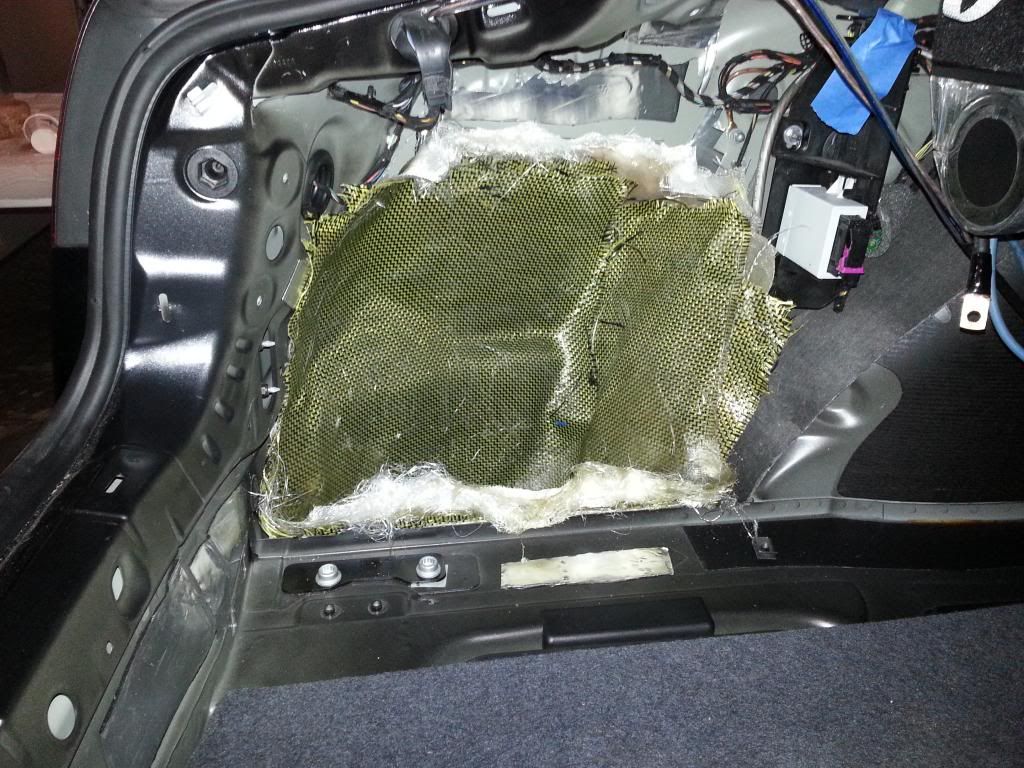
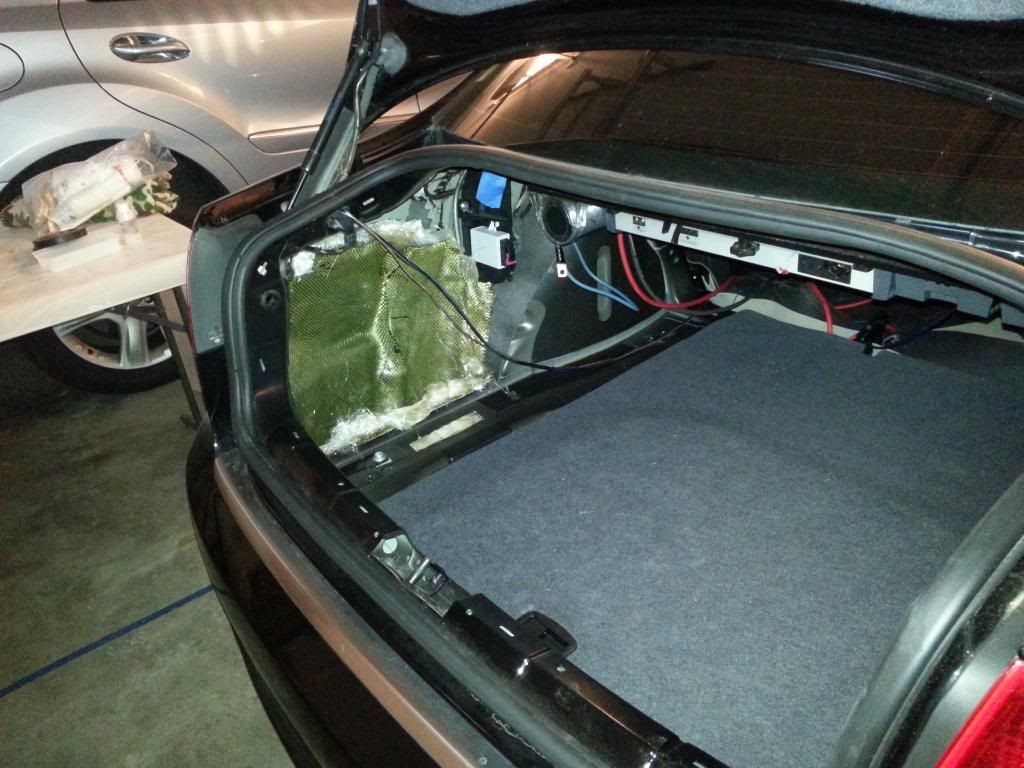
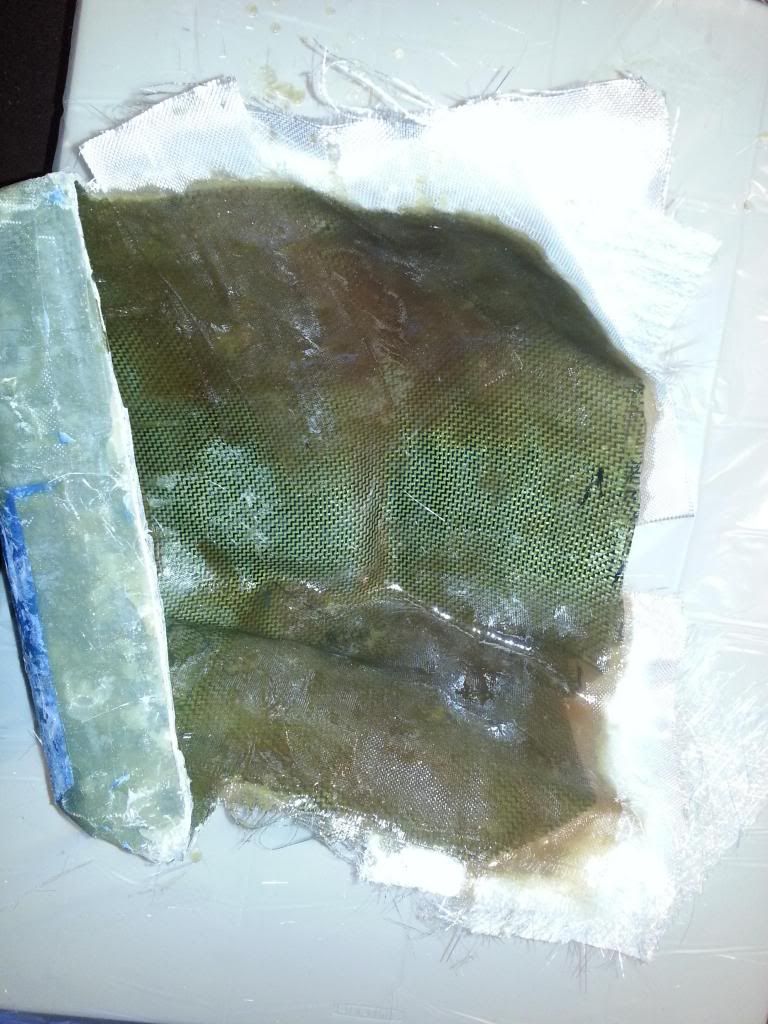
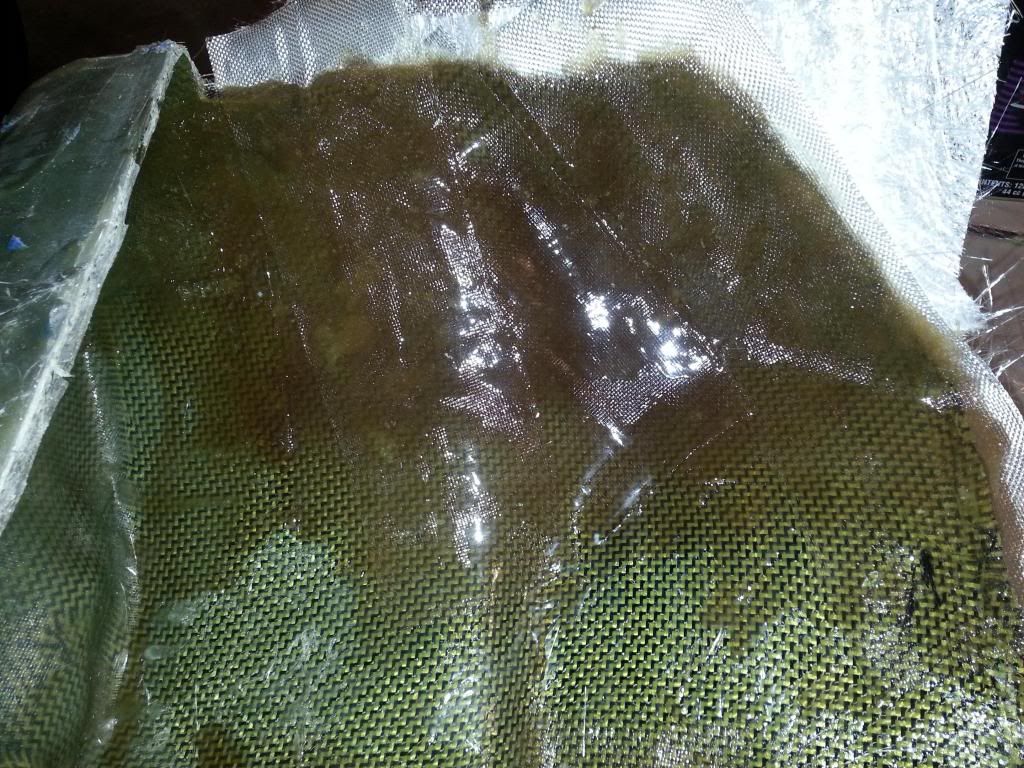
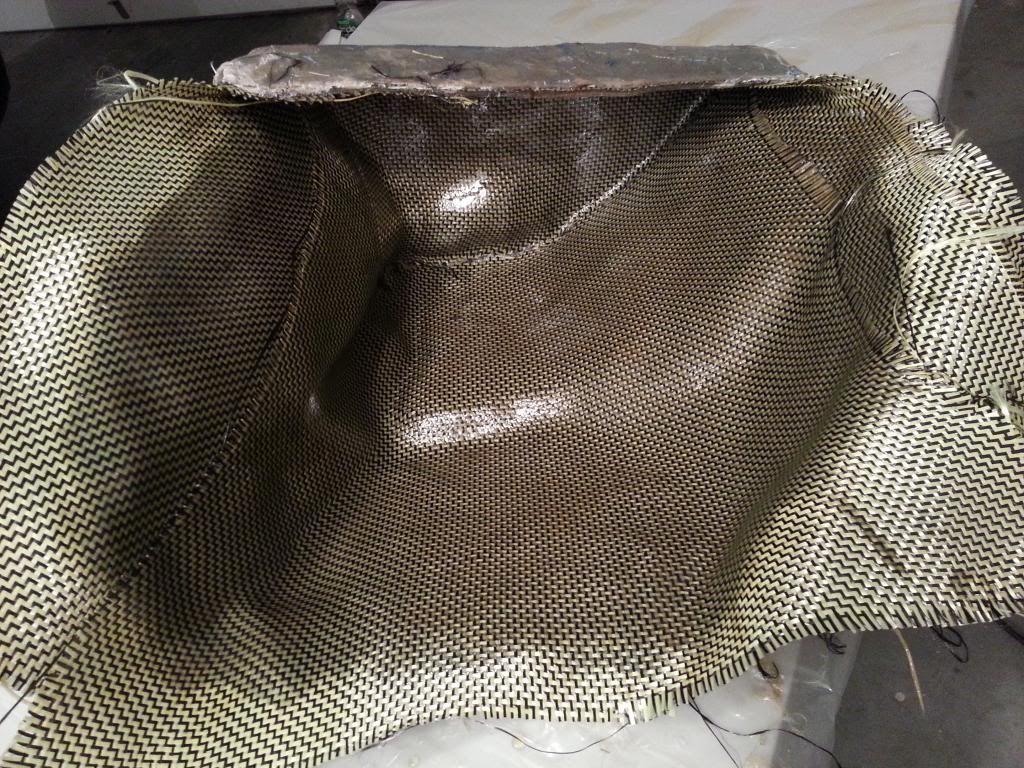
To continue to build up box strength I added a couple layers of Aramid/Carbon weave fabric.
Test fit after this cured...
![]()
![]()
Cut away the excess
![]()
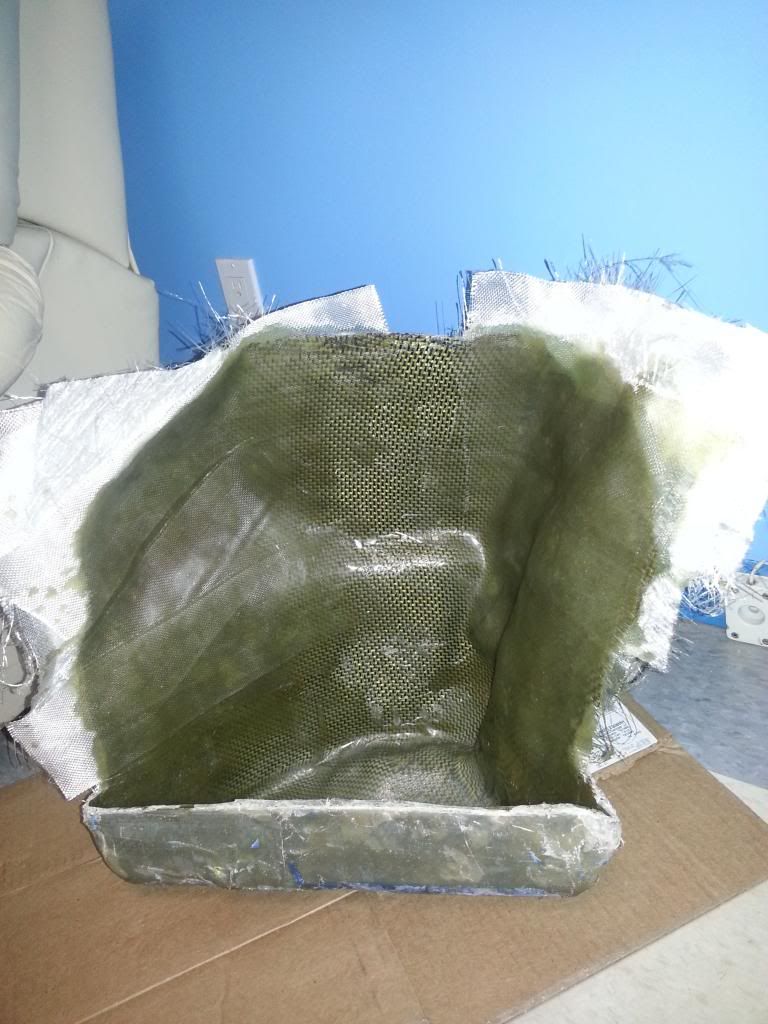
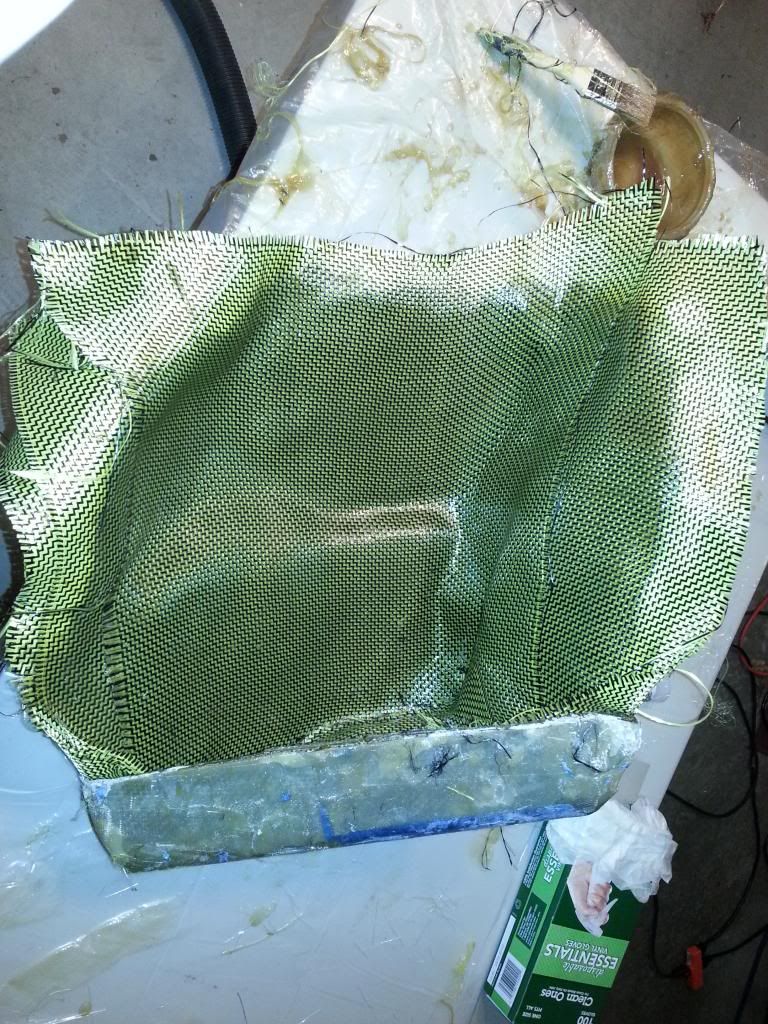
At this point it was very strong in most areas. The only areas that had some flex I was concerned with was the top outside edges. I gave these some alternating layers of FG mat and S2 fabric to make them real tough. Each side got 3 layers of mat and 3 layers of fabric.
![]()
Threw a few FG Tape strips to soak up some extra resin and help it bond nicely with the rest of the piece
![]()
![]()
Now once that cured it was starting to get a bit thick and very strong.
![]()
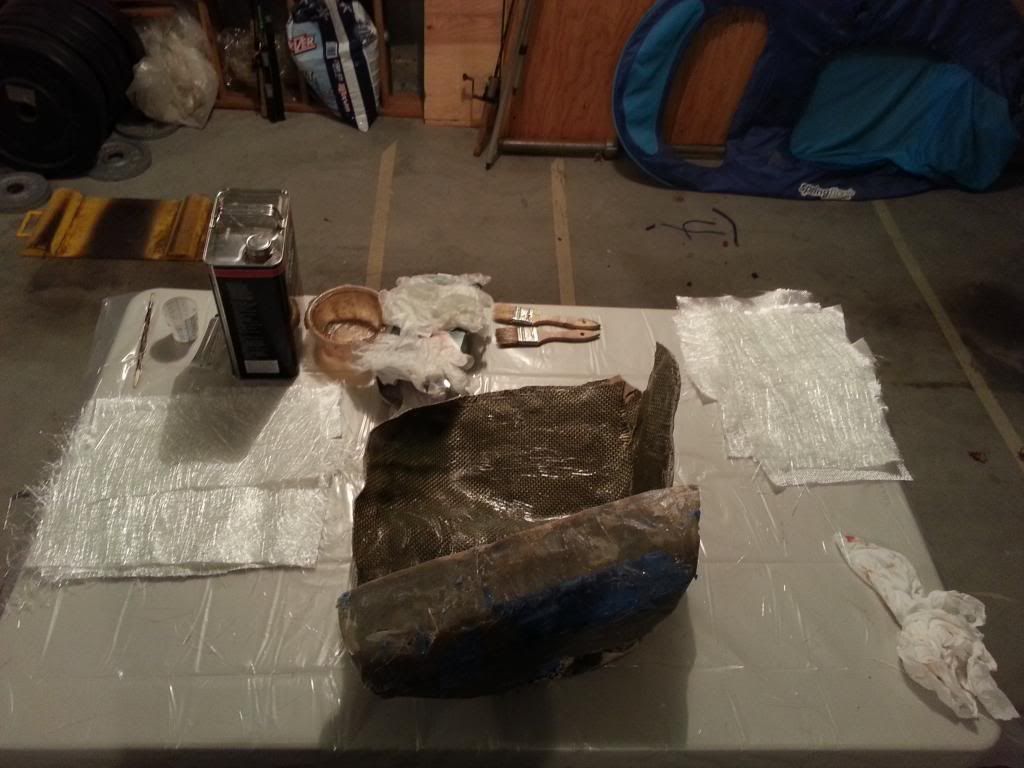
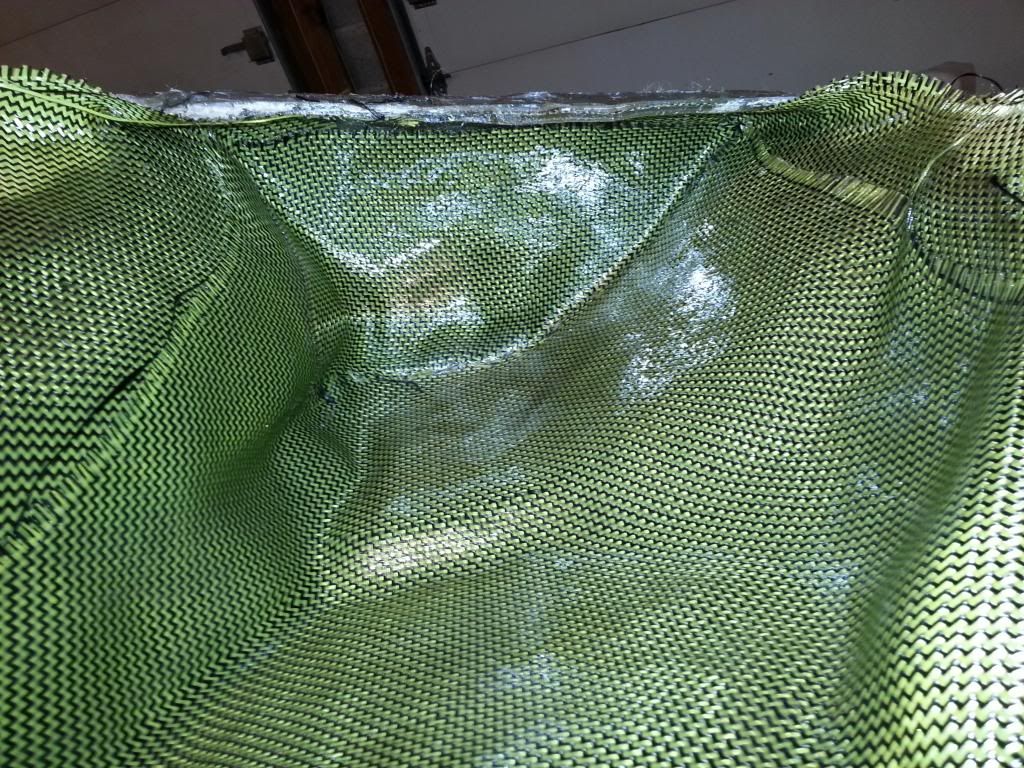
To finish this part off I put 3-4 more layers of the Aramid/CarbonFiber weave fabric inside the whole piece and let that cure for a couple days.
![]()
![]()
![]()
Now that its very strong and has virtually 0 flex I'll be able to move on to the next part which is making the speaker ring this weekend.
The goal is SQ although I am still a beginner so I will not have the ultimate or most extreme setup for everything but I will do my best to choose great components and install them properly.
The car - 2008 Audi A4 Sedan.
I'll start with the sub-woofer - I'm going to make a FG enclosure to minimize loss of trunk space.
The trunk of the A4 (for those of you who are not familiar with it) has a door on the left side with a large plastic storage cubby in it. The cubby starts at the top with a small rack for the Bose amplifier which is sealed off from our access(for those who got the Bose stereo option on their A4) and then has a small storage space for your stuff. I don't have the Bose stereo on my A4 so for me this is just a ton of wasted space.
Here is a pic of it I found on the web. (sorry didn't take my own of this part before removing it)
After removing the plastic storage bin I found a ton of extra airspace all around where it was. I also found this extra sheet metal layer. I'll be trying to put the largest subwoofer I can in there so mounting depth is going to be the #1 constraint. If I remove this extra sheet metal I can gain another couple inches of mounting depth.
I began cutting away at it with tin snips to make some more room.
This gave me a total of about 11" of space between where the cubby door will be and the back wall. I ended up choosing the sub-woofer based on this measurement.
I chose a JL Audio 12W6V2. This speaker has almost 8" of mounting depth which gives me hardly any space leftover for the FG buildup + the cone to have some room for its excursion to not hit the cubby door when It's played.
Now that plenty of it is cut away I can start taping up the space to prepare for fiber-glassing :p

Added a little protection for the car and smeared some turtle wax in there. This helps to remove the mold once it cures.

Laid some S2-Glass fabric in there. Taped it to stay in place this way it doesn't slide on the vertical surface its dropping into.
On goes the resin...
Just a single pretty thin layer of either S2-Glass cloth or chopped strand mat for the initial mold.
That cures and pops out without too much difficulty
Turns out the mold needed to flex a lot to come out because it reached too deep in some areas so this needed to be modified.
Don't mind the camo - I got a cheap fleece blanket for this project from WalMart for $2.50 and it happened to be camo.
I added a few more layers of FG matt and the cloth and then added strings to the weaker parts. The FG is strongest when applied to curves (and weakest when it is in large flat pieces) so one technique was to use the nylon string to give flat areas some ridges for the fabric to conform too. A stronger option was to add strips of wood but those would have added too much thickness for my purposes.
BTW - This enclosure I'm making is by no means the cheapest way to DIY. I decided to have a little fun fiber glassing with more exotic fabrics which also required Vinyl Ester resin to bond them so I would not recommend these materials for those who want the most cost effective option.
The goals for the FG enclosure to sound best...
-Minimize flex, so no acoustical energy is lost from the sub-woofer
-Have the proper internal air volume, and of course...
-Be sealed (air-tight)
To continue to build up box strength I added a couple layers of Aramid/Carbon weave fabric.
Test fit after this cured...
Cut away the excess
At this point it was very strong in most areas. The only areas that had some flex I was concerned with was the top outside edges. I gave these some alternating layers of FG mat and S2 fabric to make them real tough. Each side got 3 layers of mat and 3 layers of fabric.
Threw a few FG Tape strips to soak up some extra resin and help it bond nicely with the rest of the piece
Now once that cured it was starting to get a bit thick and very strong.
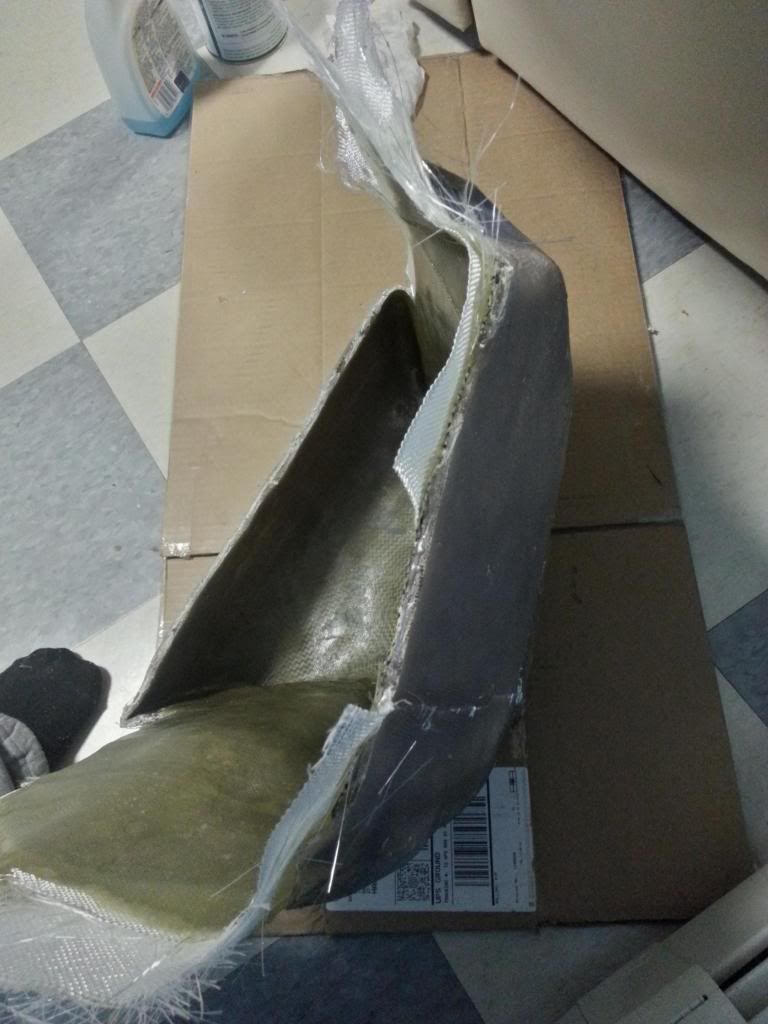
To finish this part off I put 3-4 more layers of the Aramid/CarbonFiber weave fabric inside the whole piece and let that cure for a couple days.
Now that its very strong and has virtually 0 flex I'll be able to move on to the next part which is making the speaker ring this weekend.